DIY Sushi & Serving Tray – Teal Plank Workshop - Odessa

Create Your Own Sushi & Serving Tray with Teal Plank Workshop
Welcome to Teal Plank Workshop, your go-to destination for all things arts and entertainment related to visual arts and design. In this comprehensive guide, we will show you how to craft your very own DIY sushi and serving tray. With step-by-step instructions and detailed information, you'll be able to create a beautiful and functional tray that will impress your guests and elevate your dining experience.
Why Choose Teal Plank Workshop
At Teal Plank Workshop, we are committed to providing you with the highest quality materials and guidance to help you unleash your creativity. Our team of experts takes pride in offering unique projects that enable you to express your artistic vision while enhancing your home décor. By following our guide, you'll not only learn how to make a sushi and serving tray but also develop valuable woodworking skills.
Materials You'll Need
Before you dive into the DIY sushi and serving tray project, let's take a look at the materials you'll need:
- Wooden plank - Choose a high-quality hardwood plank that meets your desired dimensions.
- Saw - A table saw or circular saw will be essential for cutting the plank to size.
- Sandpaper - Use different grits of sandpaper for a smooth and polished finish.
- Wood glue - Opt for a strong adhesive to ensure the longevity of your sushi tray.
- Clamps - These will help keep the pieces secure while the glue sets.
- Wood stain or finish - Customize your tray with a stain or finish that matches your style.
- Food-safe sealant - To protect the wood against moisture and ensure it is safe for serving food.
Step-by-Step Instructions
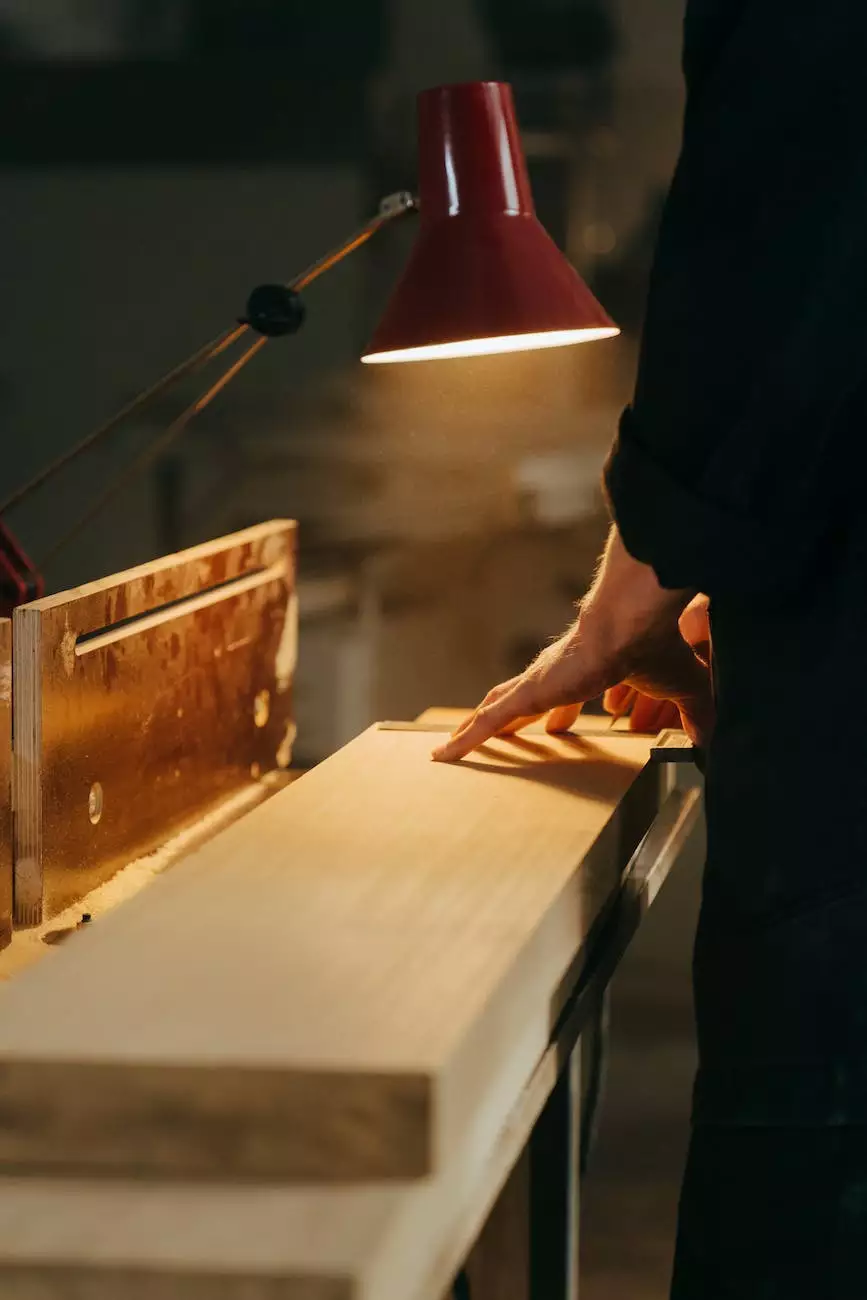
Step 1: Measure and Cut
Start by measuring and marking the dimensions you want for your sushi tray on the wooden plank. Using a saw, carefully cut the plank into individual pieces according to your measurements.
Step 2: Sand the Edges
Once you have all the pieces cut, use sandpaper to smooth out any rough edges or corners. This step will ensure a safe and comfortable grip when using the tray.
Step 3: Assemble the Tray
Apply wood glue to the edges of the wooden pieces and join them together. Use clamps to hold the pieces firmly in place while the glue sets. Let it dry according to the glue manufacturer's instructions.
Step 4: Finishing Touches
After the glue has completely dried, sand the entire tray to remove any excess adhesive. Then, apply your chosen wood stain or finish to enhance the natural beauty of the wood. Finally, seal the tray with a food-safe sealant to make it suitable for serving sushi.
Elevate Your Dining Experience
Now that you have created your very own DIY sushi and serving tray, it's time to impress your guests and elevate your dining experience. This tray not only adds a touch of elegance to your table but also provides a functional platform to showcase your delicious sushi creations.
Whether you're hosting a dinner party, special occasion, or simply treating yourself to a homemade sushi feast, your handmade tray will undoubtedly become a centerpiece on your table. The unique design and craftsmanship will spark conversations and add a personal touch to your dining space.
Unlock Your Creative Potential with Teal Plank Workshop
Teal Plank Workshop is dedicated to providing you with the tools and inspiration to unlock your creative potential. We offer a wide range of projects and workshops that cater to all skill levels. From woodworking to painting, our goal is to empower individuals like you to embrace their artistic side and bring their visions to life.
Join our community of creative enthusiasts today, and explore the endless possibilities of visual arts and design. With Teal Plank Workshop, the only limit is your imagination.